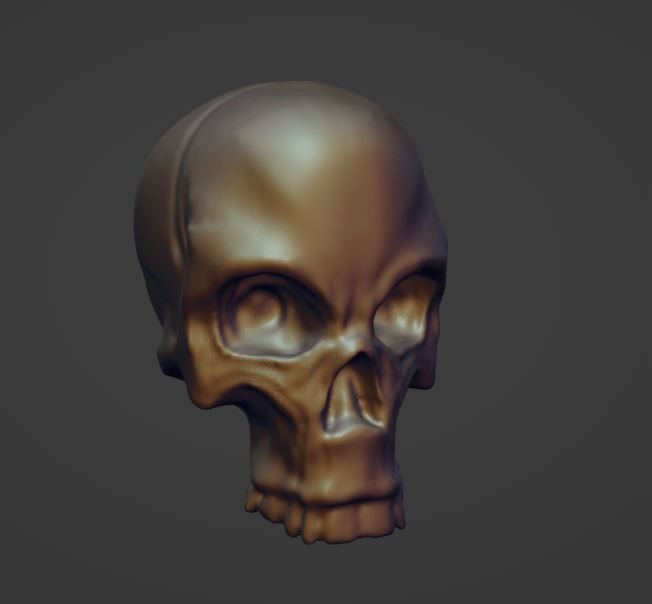
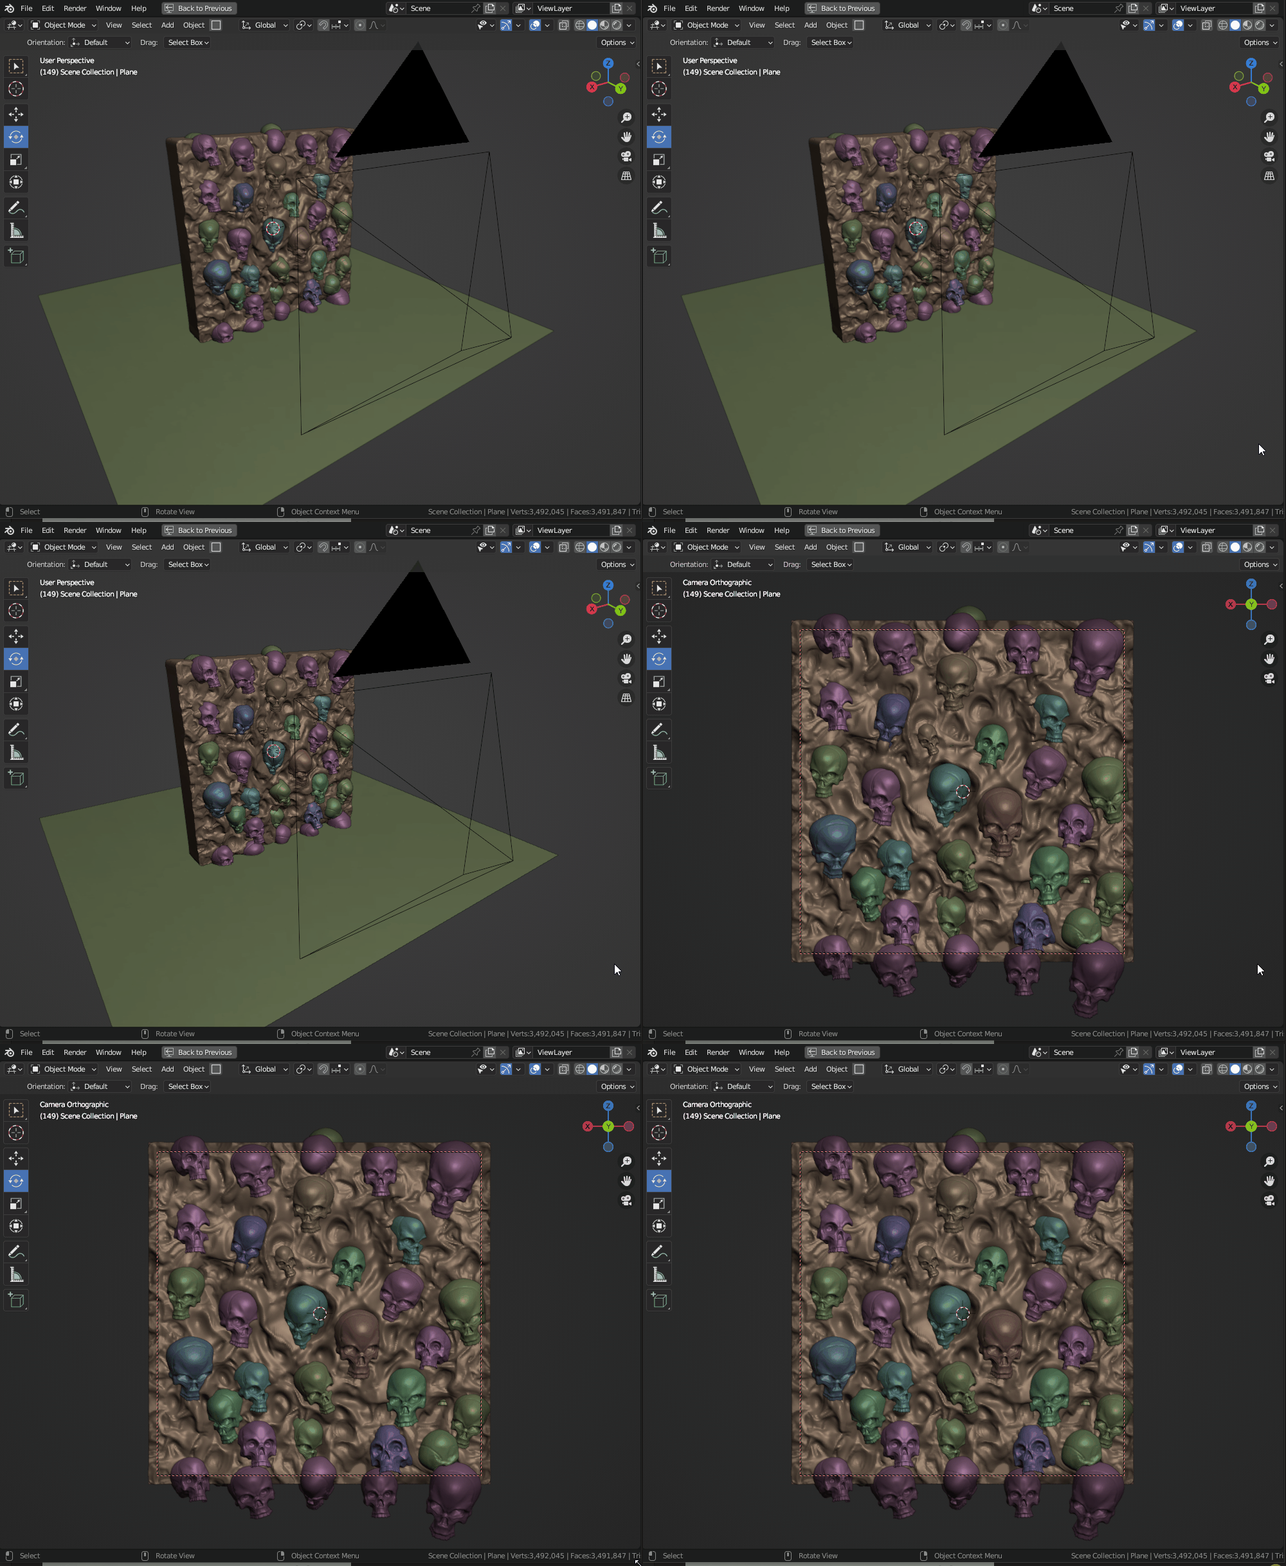
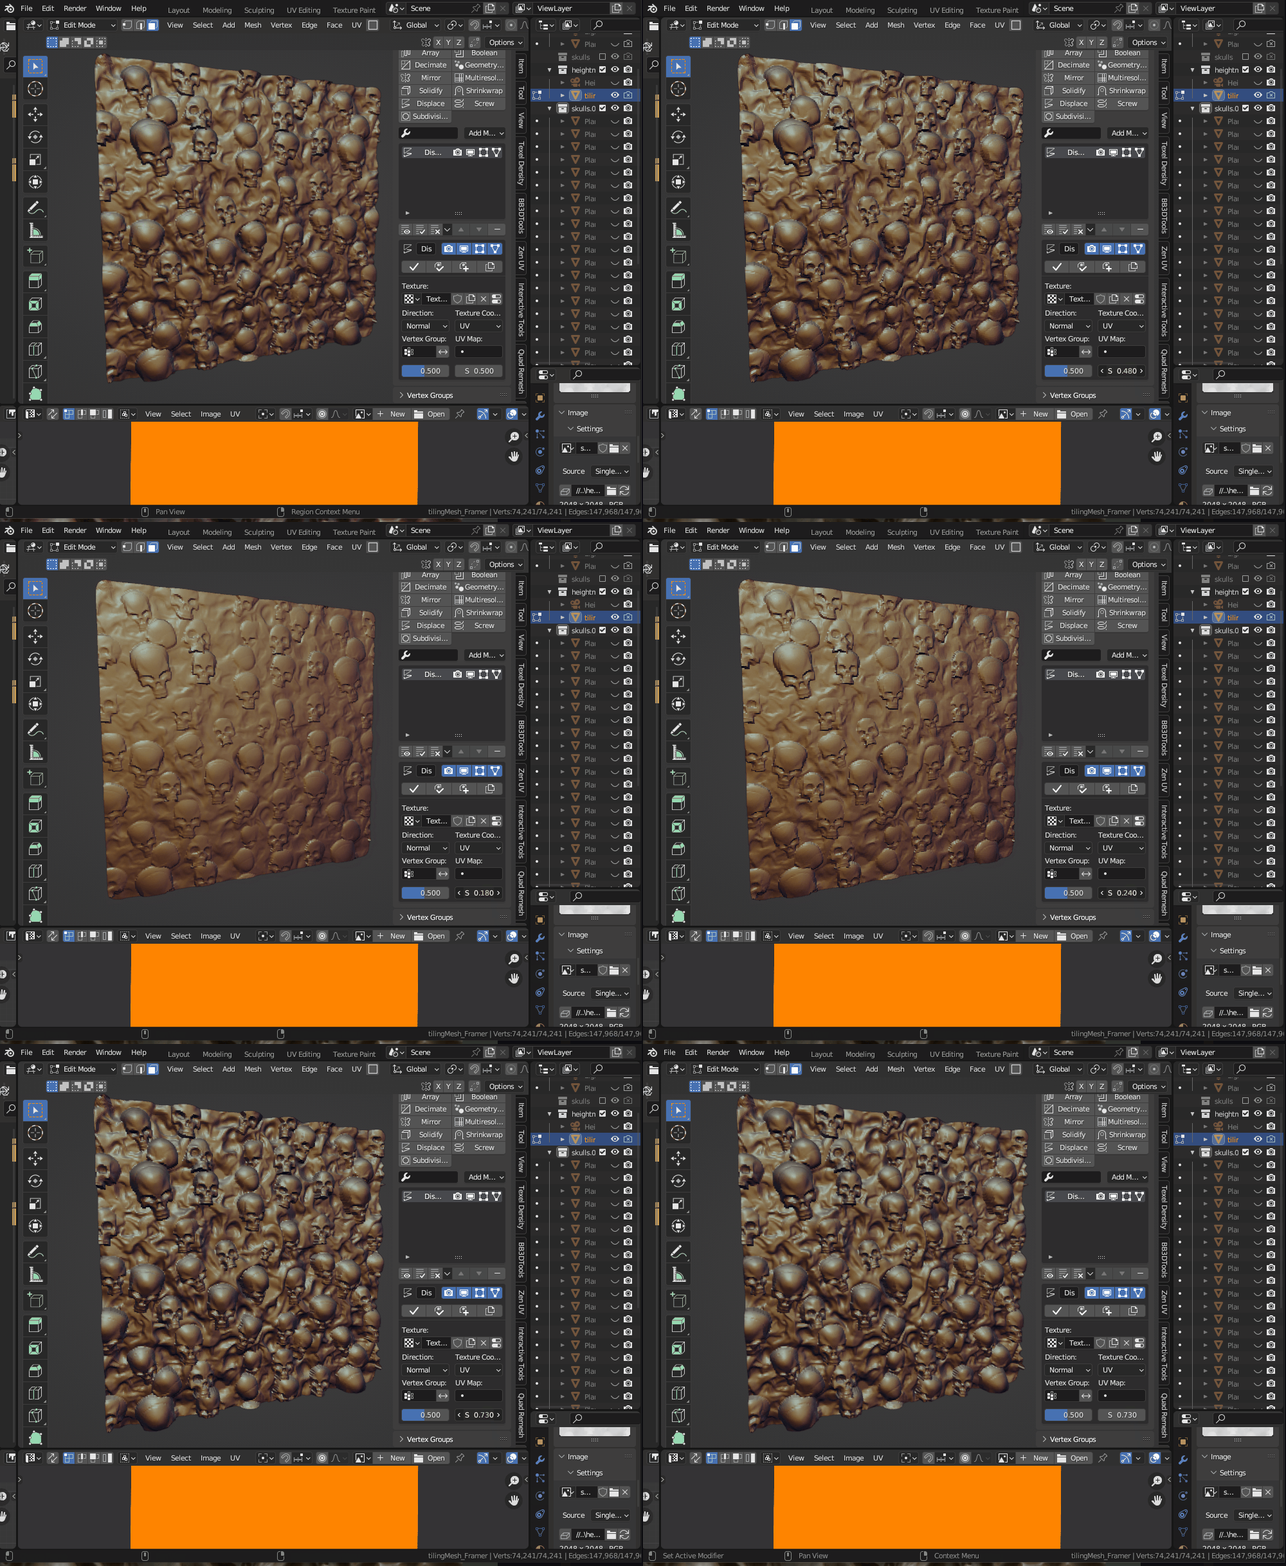
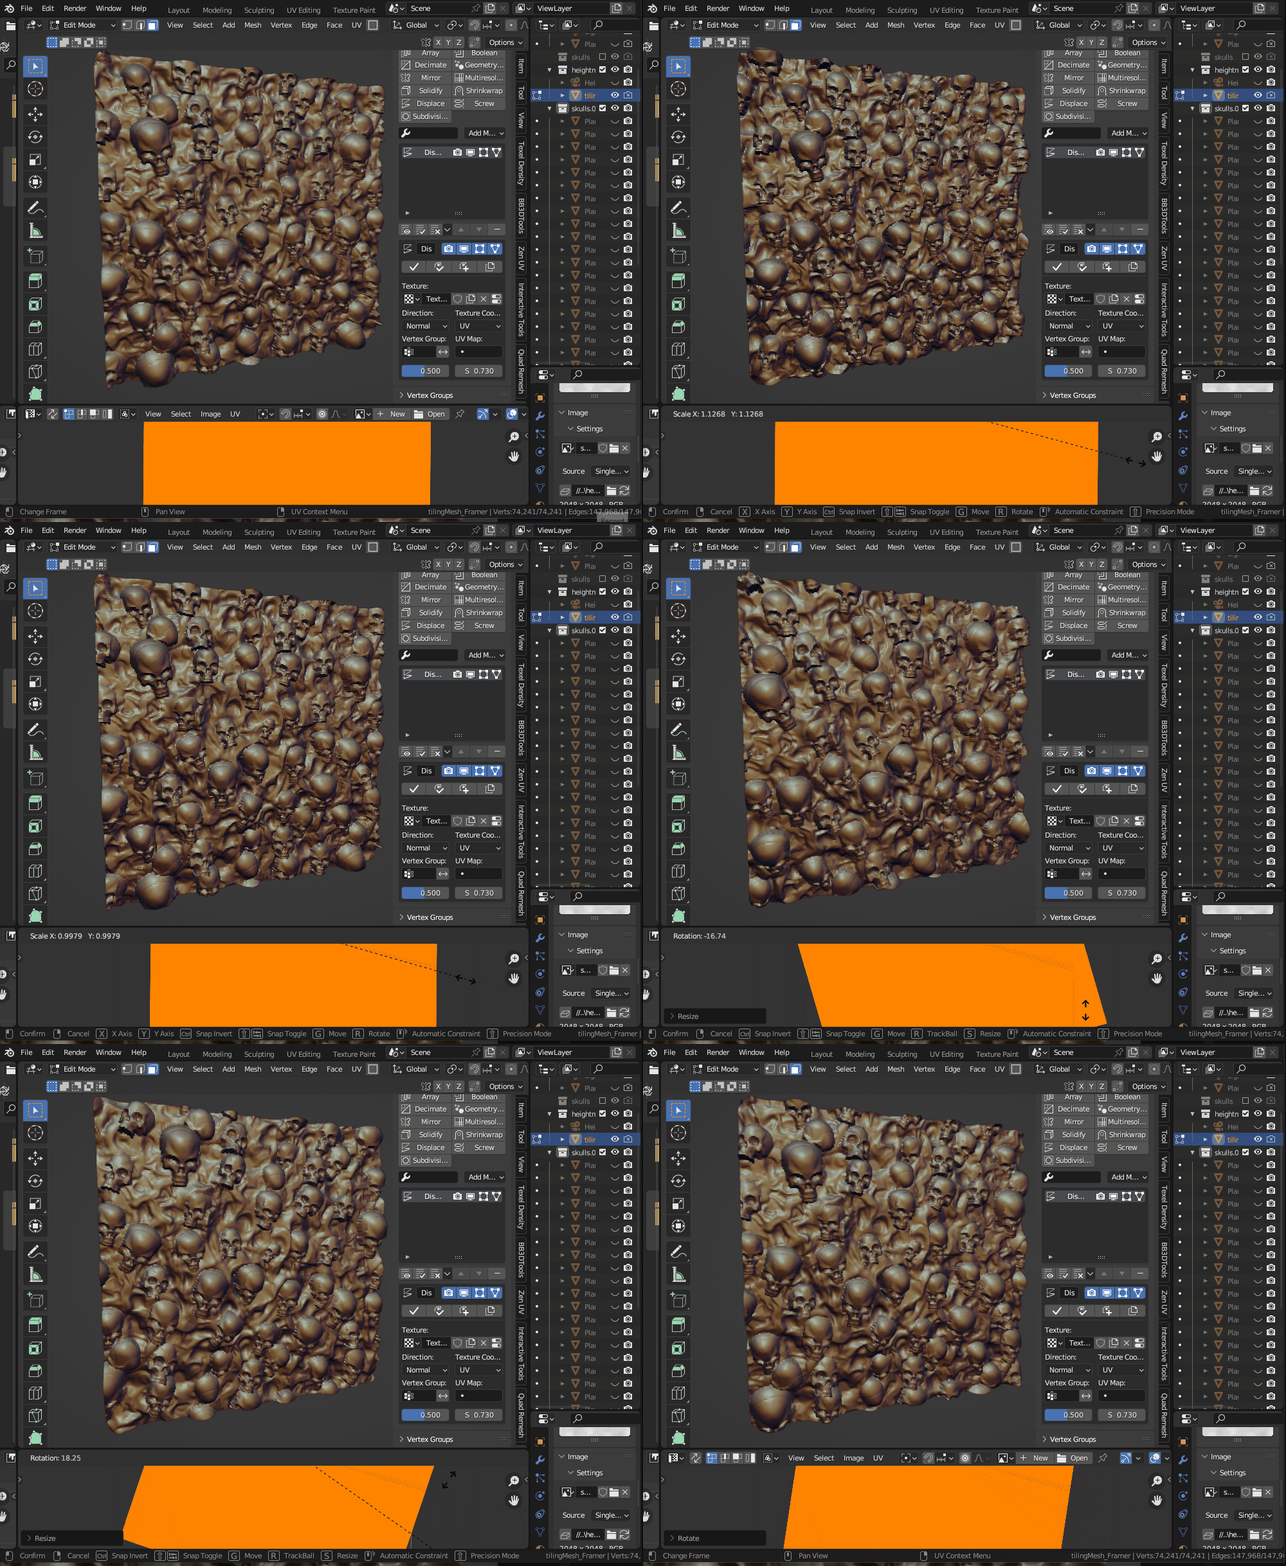
In this article my goal is to show you how to "capture" or “bake” a Height Map from a sculpt to a texture using Blender. In a nutshell the article touches on how to set up a material to capture a height map, setting up a camera and finally rendering such information to a texture.
For starters, know which way your model is facing! This is crucial for setting up the material that will help capture the height information. In the example below. My model is facing towards the positive Y axis. It is worth noting that the camera itself will not be picking up height information. The height information will come from the material. It is very important to understand that a height map is simply a gradient from 0 to 1. The material will simply gather the position of the mesh and shade it accordinly. Which means that your model needs to start exactly at Y=0.
Failure to capture these values accurately will make it a little harder to use outside of blender. As your height map may not have the correct range. However, range can be tweaked through levels and contrast settings. But is problably a good pratice to keep things consistant so others can use them.
In addition, i also want to note that there are many great addons that you can use for this, but is always fun and good to know how things work behind the scenes.
Step 2 : Create a material that captures height.
You will need to make a brand new empty material. We ditch the “standard” and we use the position of the mesh, and only use its y position to create a masking effect.Tweak "To Min" to dial down the depth of your height map.
EDIT :
Above ive set up a material that picks up the height starting at Y=0 through the "Map Range Node". To increase the contrast of the height map, you simply increase the "From Max" values.
A bit more indepth here, for those curioes. The "Geometry Node" Gathers the position of the the mesh. Which is stored as a vector value, XYZ. We use a "Separate" node, to isolate the Y channel. I've negated the direction in which the position is read from Negative to Max so we can use the map Range node to increase the contrast. Doing it this way ensures we get the correct range from the beggining.
Step 3 : Set up a camera.
Create a new camera and set it to be orthographic. If this is a tiling sculpt, you need to account for the buffer edges when setting the constraints. If your sculpt is NOT tiling, or doesn't go over the border you will get seams. Very important that you use a tiling plane. You may download mine from my gumroad.
The important settings to note for the camera, is that it needs to be orthographic. And for this sculpt i've set the Orthographic Scale to 2. During this step i've also set the render image to be 2048x2048. Samples can be set to a low number to speed up the render since they are not needed. Renderer is Cylcles.
To make a new camera active, use CRTL + 0.
To change to camera view quickly simply hit NUMPAD 0.
Step 4 - Baking to texture.
Once everything is ready, simply hit F12, or go to Render/Render Image to get a nice rendered capture of your sculpt. Save it as "OpenExr 32 bit".
Conclusion
Height Maps are invaluable when sculpting. You can use them to create brushes, set the groundwork for creating more surfaces, create surfaces to make more presets, etc. In zbrush, it is very easy to "screen grab" a mesh and get the height map. For me, this workflow of generating a height map in blender works well since i'm in fact using the height maps inside of blender. The same height map technique could be used to assemble very intricate materials for terrain, props, etc.
In the end what matters is that you know you can bring information from othersoftware and have the power to manipulate it to get the results YOU need.


