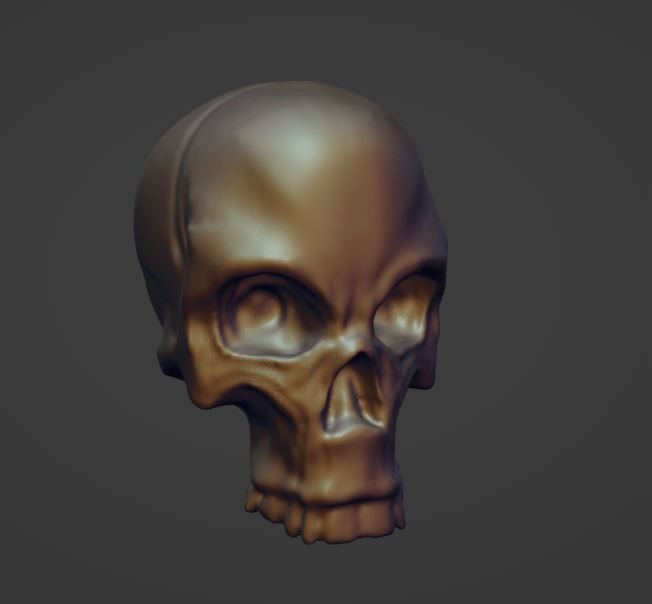
On this article, I will guide you through the steps of how to create a tiling height map from a sculpt. This not a step by step process on how to sculpt, rather a quick general overview at the process of creating height maps and tiling techniques. The pieces i am demostrating in this article were sculpted in Blender. The fundamental techniques apply on pretty much any software. Specially Zbrush and Maya as that is what i used to do the bulk of this work previously.
I would like to mention that this technique is not new. It is something that other artists I have worked with and myself have used for many years. Its the essence of the method I've used to generate countless presets during over the years. It wasn’t until recently, with the dawn of Nanite in Unreal 5 that suddenly everyone started using height map displacement. This article sheds a bit of light at what my approach is for this workflow. I really hope you enjoy this article and learn something!
What is a height map exactly?
A height map is a 0 to 1 gradient map. 0 being the floor and 1 being the ceiling. There are many ways you can author height maps these days. You could draw them by hand, use photoscans, author them with tools such as substance designer. My favorite way is to sculpt them. What matters in the end is the end result. Plus, sculpting is fun!!

What do you do once you have a height map?
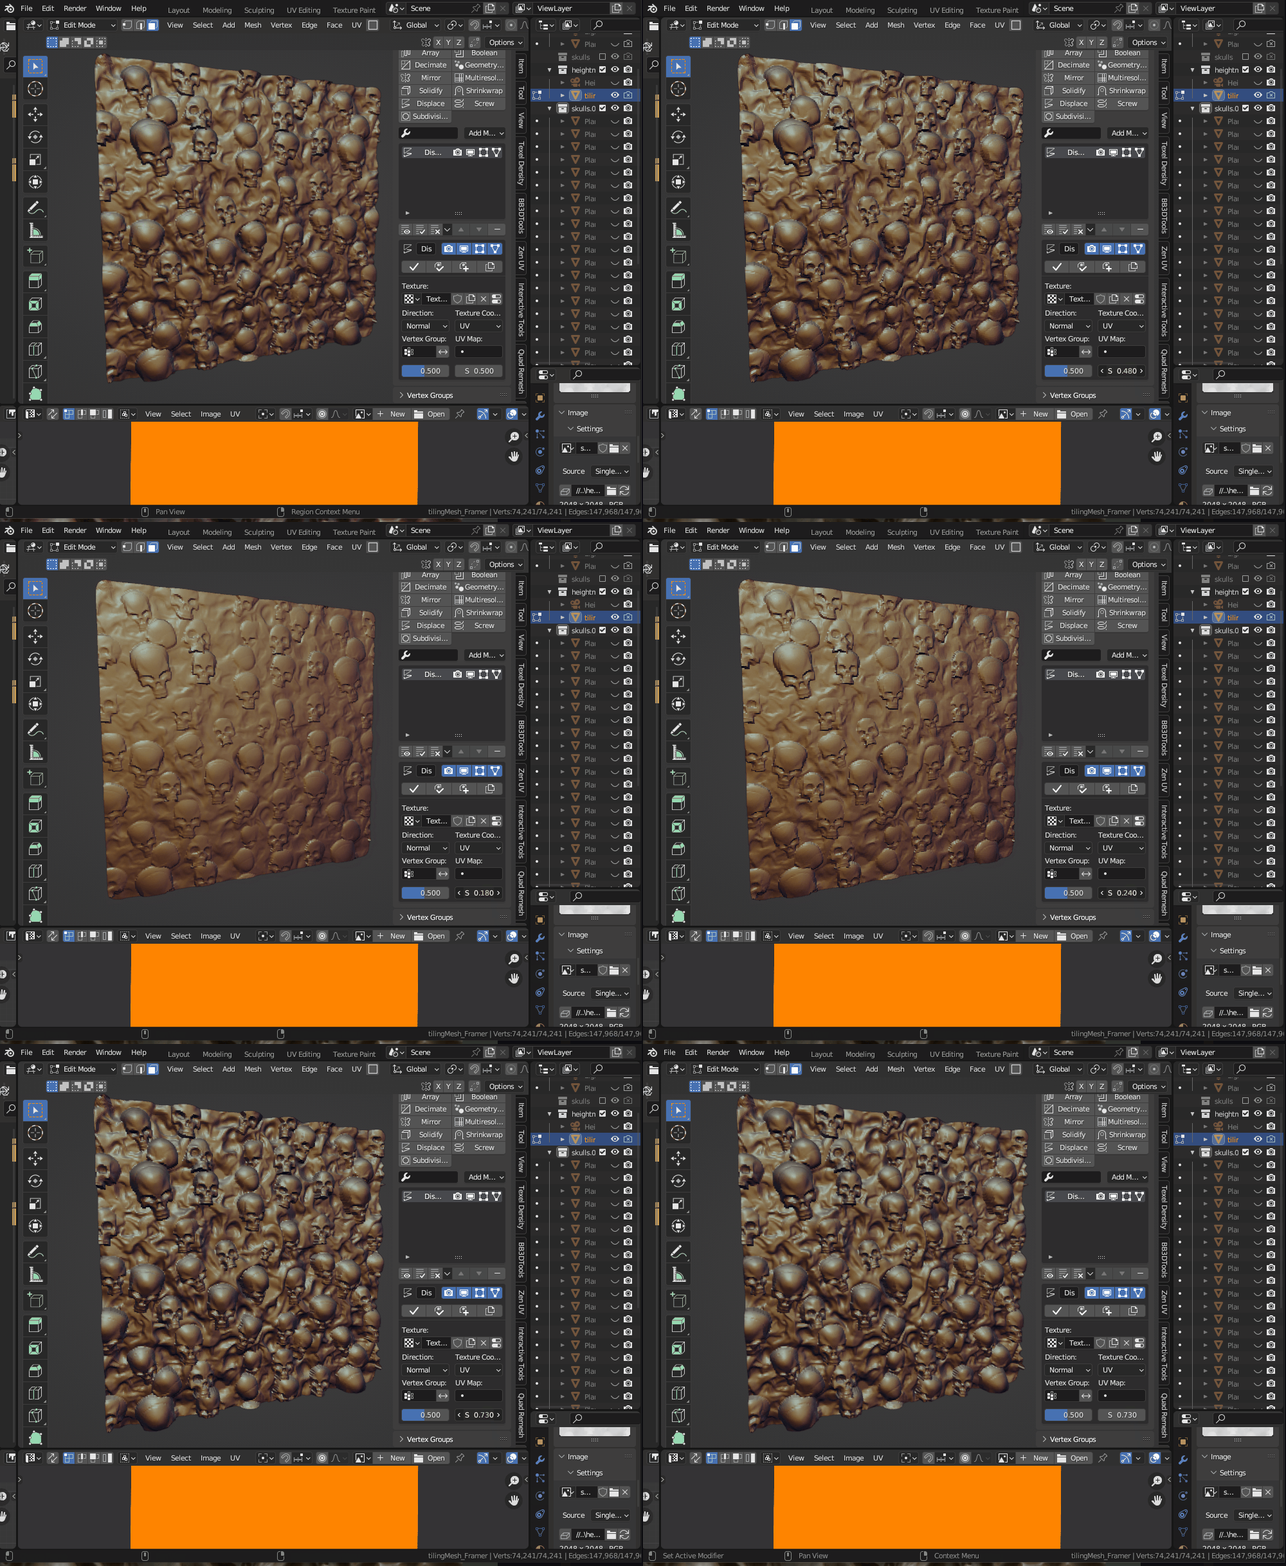
The height map gets reapplied to a mesh by either using world space displacement, brushes, etc. Below i've baked the above mesh into a height map and am displacing the mesh with it. Height maps require the mesh to have lots of polygons to be used accurately. The only caveat about them is that they usually just work head on, meaning that the side of the sculpt will be shown flat if it was a perfect 90 degree angle. This is expected as, the height map wouldnt be able to create geometry that it didnt capture.
How to apply height maps in Blender?
For this specific purpose of displacing the mesh:
A)You first have to assing a "Multiresolution" modifier to your mesh. This works as a "Subdivision" mode.
B) Assign a "Displace" Modifier to your mesh. Make sure to use uvs as your projection mode. This will make use of your uv map, which you can use to manipulate how the heightmap affects your mesh.
The baking process of a height map merits its own blog post. I will not be covering that today. Lets focus on the tiling aspect of it! I will say however, that for the most part i author height maps for production doing a combination of things. Somedays i simply do not have the time to figure out a network of ten thousand nodes to create a shape. And so i mix my sculpting skills with substance designer. Once again, what matters is the end result. Feel free to experiment and create amazing work! To re iterate, for this article i sculpted and authored the height maps all using Blender.

The surface below was sculpted by hand using the clay brush, move brush and draw brush.

Tiling Your meshes
It is imperative to ensure your height map tiles. Doing so will allow you and others to use it with ease at any time. The fundamentals of tiling your mesh are the same in every program.
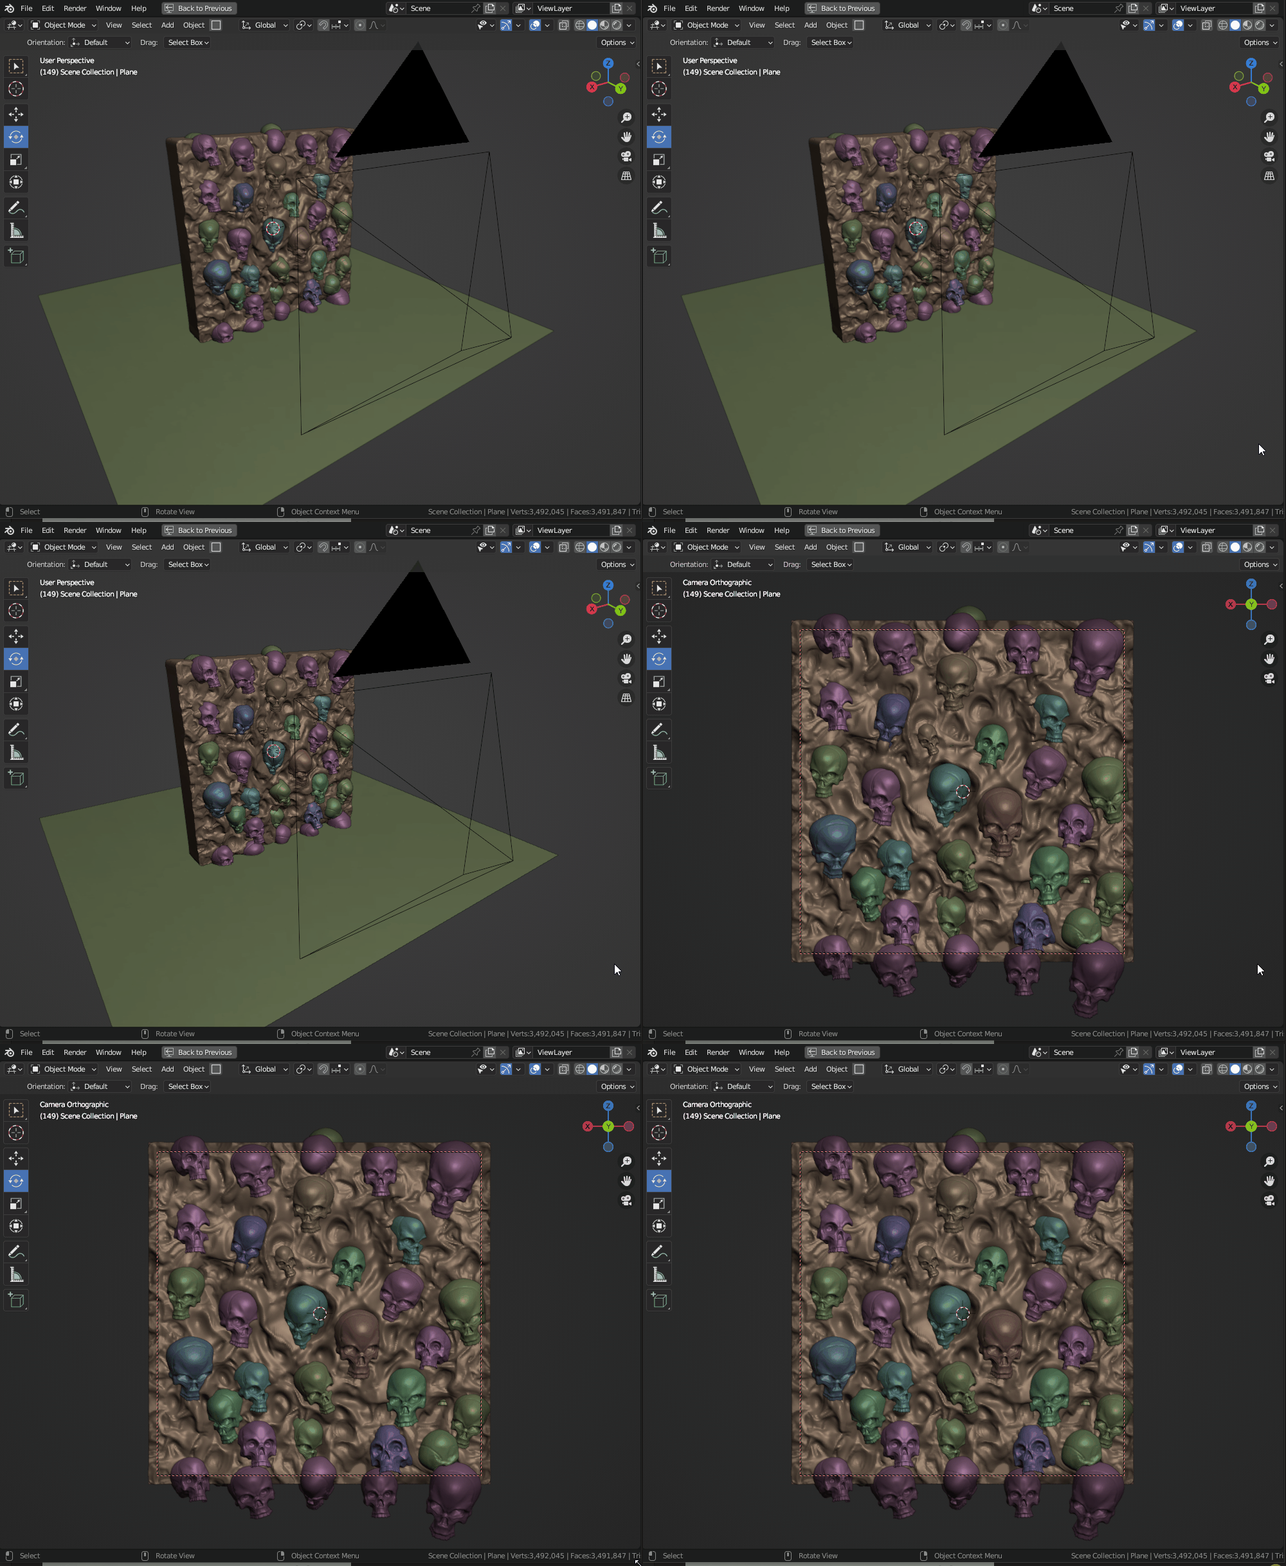
A)First you ensure that your mesh is on the grid. For the plane surface such as the abstract flesh looking surface on my piece I simply turned on "tiling mode" on my brushes. In zbrush this is called wrap mode. In Blender this is also part of a brush, and is found under the "Symmetry Tab". In every program you have to set the tiling dimensions of the "tiling mode" of your brush before hand. All of this depends on the size of your mesh. This sculpt was 2x2 meters. Which means that after the 2 meter mark the brush will start tiling.
 For quality of life purposes I like to add a buffer edge section of .25 cm to my tiling mesh whichI use every time I start a new mesh. Thisguartees me 100 percent that my mesh will tile. This extra section of the mesh has uvs set so that they tile outside of the quadrant and match their opposite side.
During this process you do not have to make everything one mesh. Infact this works better if you layer lots of objects on top of each other. The skulls are floating on top of the main surface, which i sculpt separate to integrate the skulls into it. Because of this the skulls also need to tile. The tiling of these objects is achieved through simple math and by using the grid, as well as common sense. And above all, lots of patience.
A)Always start by laying down objects in the center of your mesh.
B)Once things start to come together, then add meshes to the edges of your meshes. And simply duplicate them to the opposite sides. I like to do the right side and top edges first, and then mirror those pieces by hand.
For example, the skulls on the far right, were shifted 2 meters to the left. When shifted they automatically fell at the edge of the tiling mesh. Same goes for the skulls on the top. They were shifted 2 meters down. Often is easy to just add the number of the current location with how much it needs to be shifted.
I cannot stress enough how important it is to keep things on the grid. Not working on the grid will make it much harder to get rid of seams.


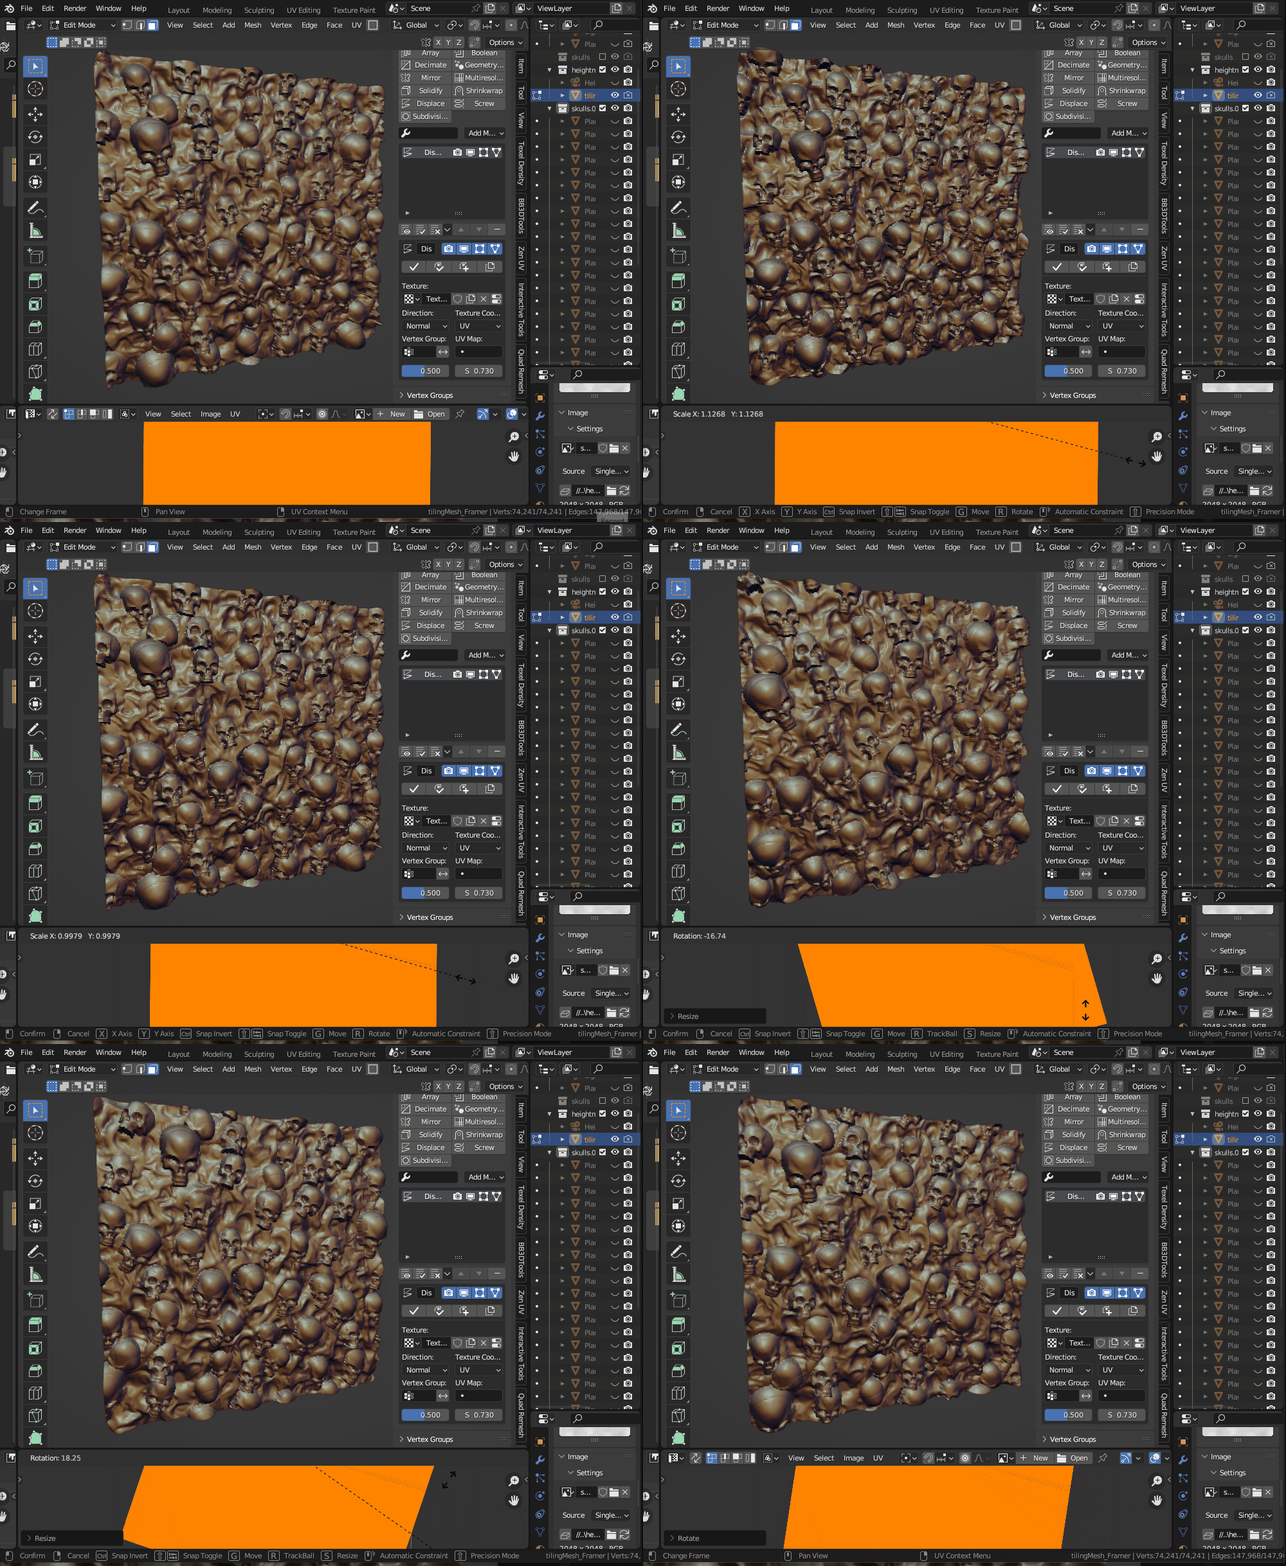
Once your mesh has been baked to a height map, the final output looks like this if you reapply it to a simple plane.
 While using the Displace Modifier You may tweak the uvs of your mesh to scale or rotate the projection of the height map. I use this method if i need to apply my height map to a mesh uniformly accross its surface. Which is hard to do using simple brushes stamp projections.
A more pratical use of this height map would be to use on a cylinder, as part of an architectural column.

i hope you enjoyed this article and learned a few things. Part 2 will cover the baking of the height map.


