Blocking out shapes using Curves Part 1

General / 15 May 2019

Sharing another video i made for my class at the gnomon school of visual effects, where i talk about quickly blocking architecture using curves. The goal here is to blockout modular pieces that will later on be baked out from a custom sculpt. Of course, you can follow the same method and simply use extra bevels and tiling textures.

If you like the video, please subscribe to my youtube channel to see for more updates.! 


Presenting your High Poly Models using Maya and Photoshop

General / 07 May 2019

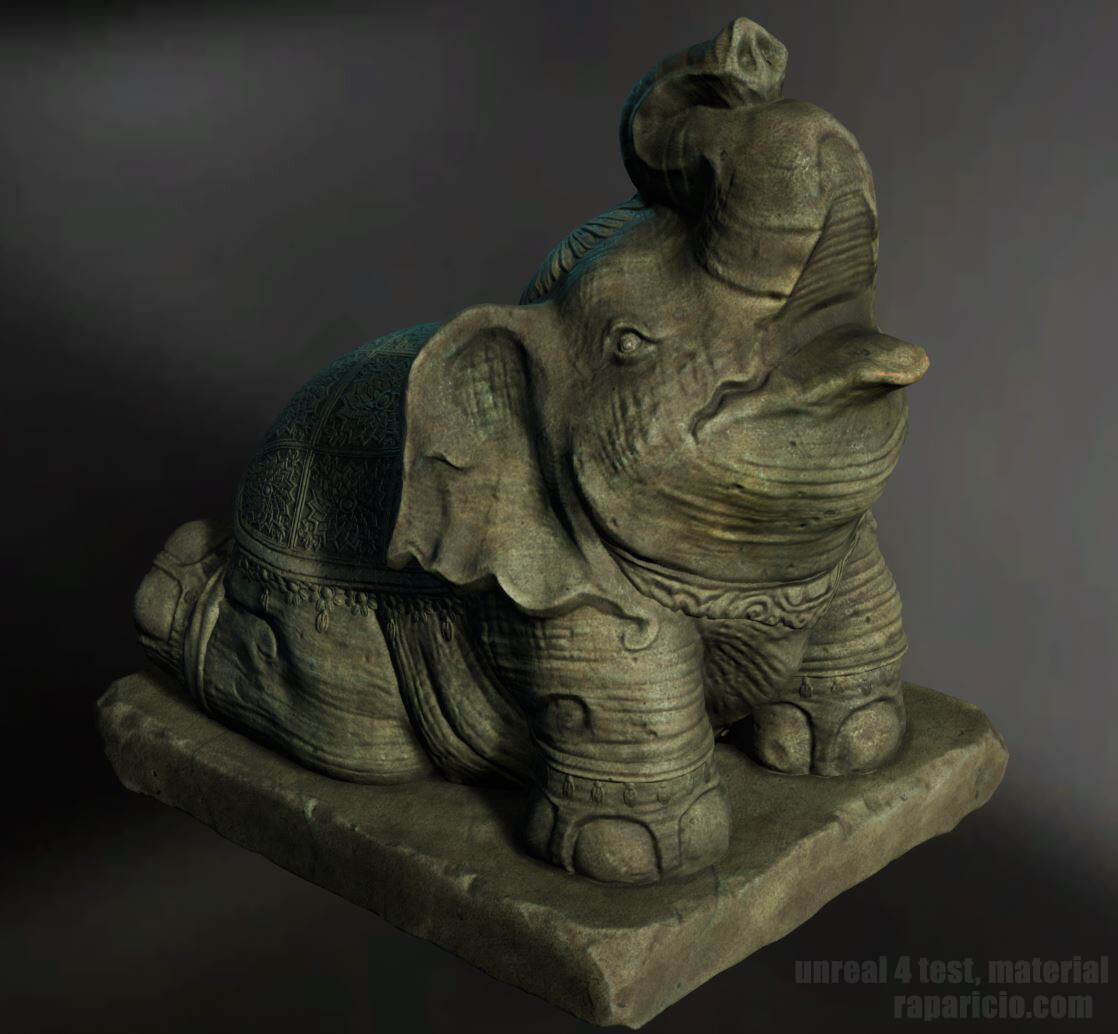
It is very important to establish a format to present your 3d work online. Breaking down your work is crucial , so that it answers any questions people have when showing it off online.  In this post, i would like to focus on rendering your high poly. A well lit high poly not only adds more  value to your portfolio. But it also helps you sell the shapes in your model so that others can study your work better.

There are many ways to go about rendering your high poly, it is a bit of technical workflow. Which is why i decided many years ago to keep it simple and do the minimum to get the most out of it. Using a little bit of our favorite renderer in combination of photoshop you can go a long way. 

The techniques shown in this video are by no means new, or even ground breaking. But they have proven handy for myself over the years when the time comes to rendering my work to show off to friends, clients, bosses and prospect employers. 


This is a video i made for my students, for the Environment Creating class at the gnomon school of visual effects and animation.


First POST!!!

General / 17 February 2019

Wanted to share a little quick project i've bee working on to test out a few things to speed up the process.  After God of War i was full of little ideas for workflows so i figured i would start something at home. This test is centered around the idea of using an overlay layer in an unreal material. Most of the detail high resolution detail comes from the underlying layer ( in this case a simple rock detail material ). The overlay layer has the macro normal and a diffuse i created using substance designer and painter. The material also supports additional layers, and has support for wetness. Very simple stuff, yet it was kinda of a very steep learning curve to get it all set up. All this took me a few months working here and there. Not really done, as ive barely started scratching the surface.

The sculpt was hand sculpted using a combination of zbrush and maya. It was a pretty fun test!