Been playing with Houdini for over a year, silently lurking forums and trying to get the hang of it. I wanted to share this, but also encourage everyone out there to let go of your fears and try it out! If you are an artsy artist and already know how to use Designer you are half way there!.
This is not a tutorial, is simply me sharing what I've found Houdini useful. By no means am I trying to go full procedural. Instead just showing how i use the tool to speed up my workflows. Specially because I usually work on more organic environments. Where procedural might not always look great.
Often you cannot hear "Houdini", or "procedural" without bringing a bag of mixed feelings to the party. Some might say that it will take jobs away. Others are just simply completely intimidated by it, because they might need to use "math". I am here to tell you that this is not rocket science, is a 3d app!! Is a very complex tool with which you can create anything you imagination desires! That is the key word here is "tool". The secret here is to understand that first you need to learn how to crawl, before you can walk. Because only then you will be able run!
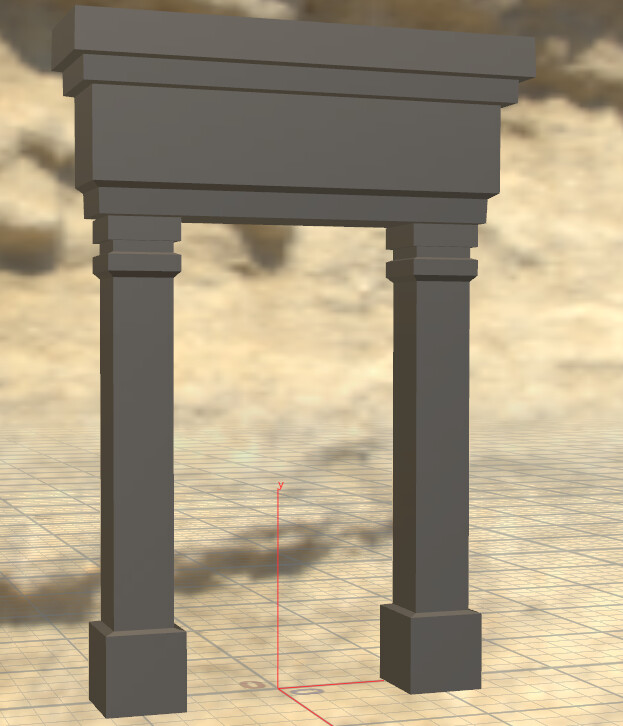
My goal here is to create a tool that i can feed meshes that i already blocked out in maya. Meshes that are also part of an unreal scene. All that is left is to do the usual, sculpting, low poly, texture thing.
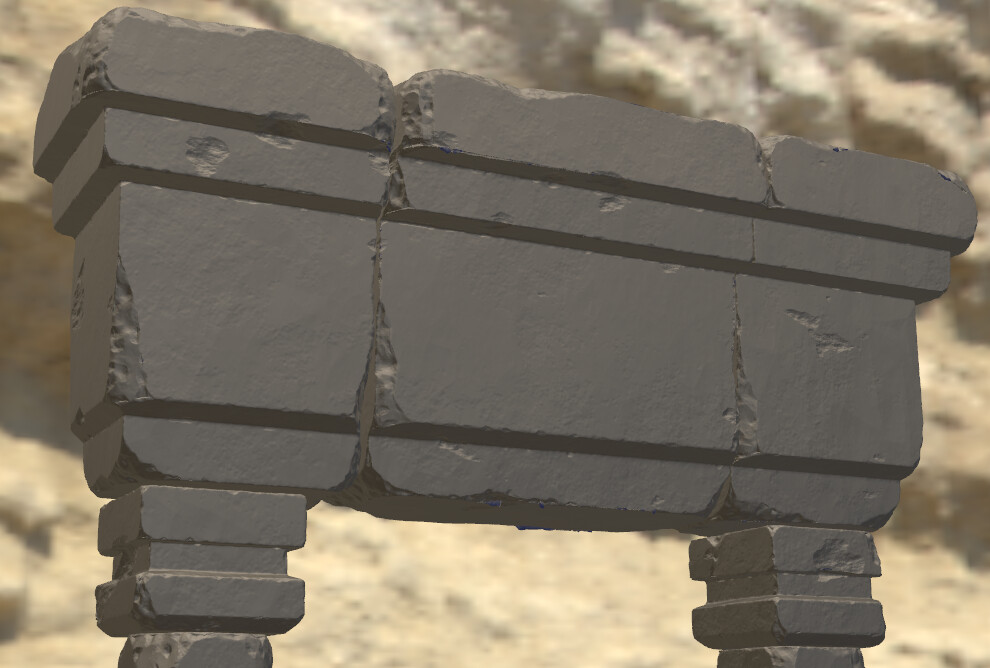
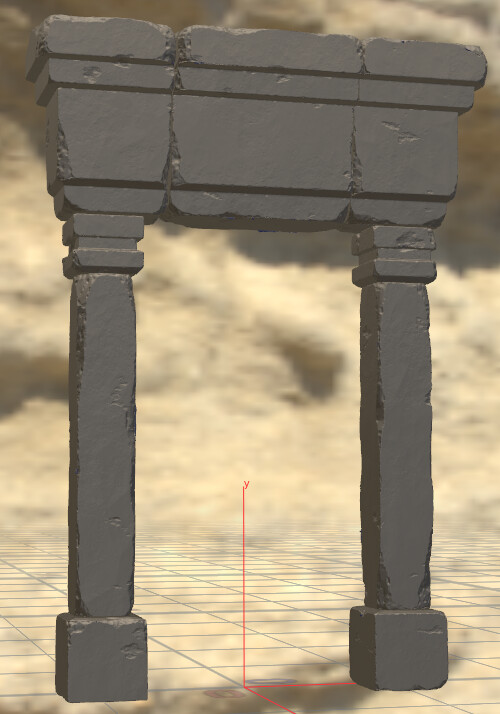
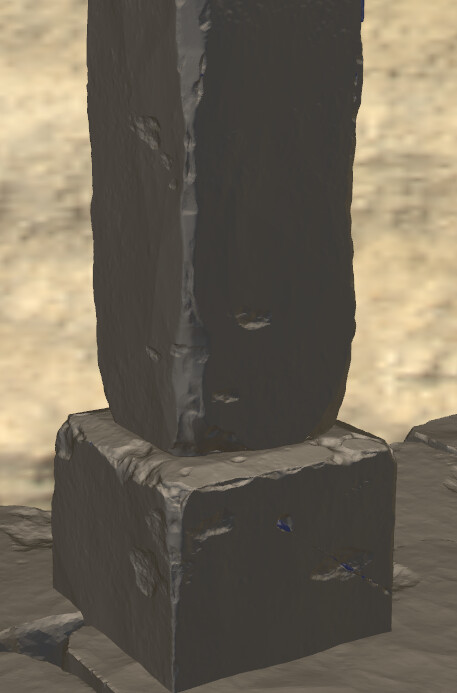
At first i thought, that maybe i could see if i could randomize the bevels at least, but it went much much further than that. In the end the digital asset set me up for a very solid first pass sculpting.
Above is a simple blockout mesh, imported from maya. Below is the mesh after the digital asset takes cares of adding chisels and other damage. Since i am very picky about the sculpting part, i made peace with the fact that the chisels are only going to look this good. For most people this would be good enough. But for others, like myself, i would like to give this a second and final pass of polish by hand in zbrush.
I know some people are going to start asking me what is this madness?! And can you make some tutorials?! I will eventually, but honestly this stuff is so so basic i dont think i will. However, i will share below screenshots of my graph to give you an idea of how to go about setting up something like this. Specially if you are new to houdini and you really wanna get in there and do some magic!
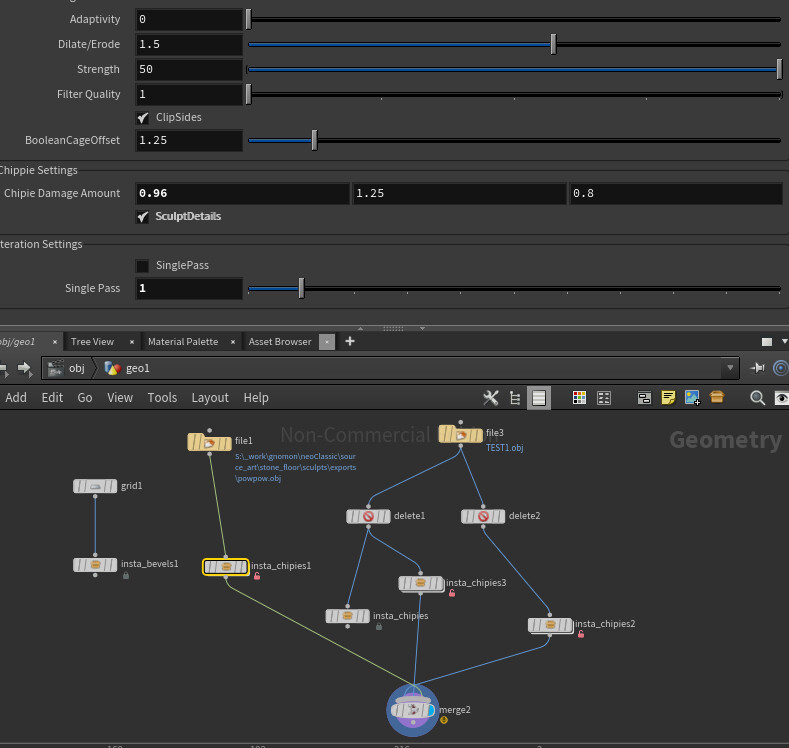
This is what my main graph looks like. Is just a couple of nodes. The node doing all the work, is a digital asset called "insta_chippies".
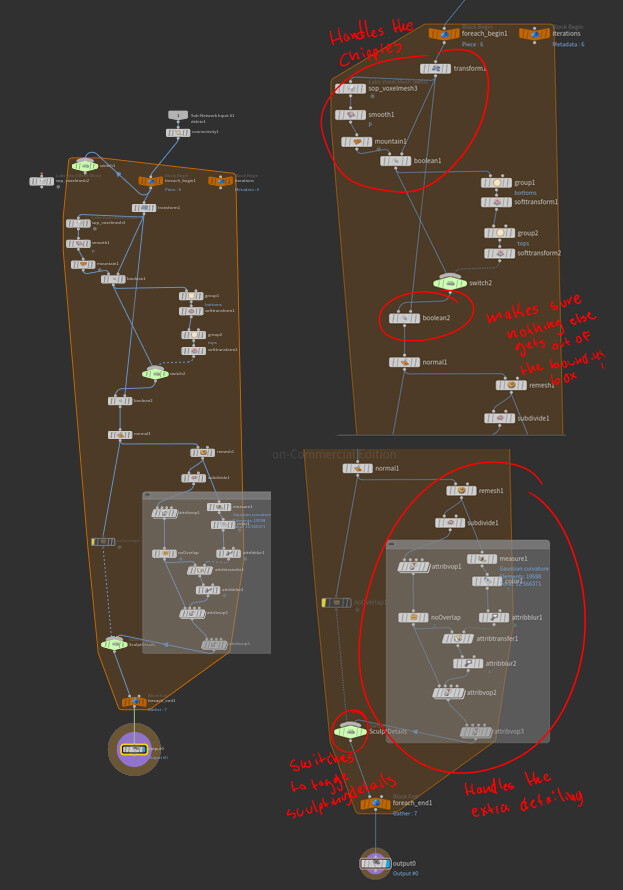
If we take a look inside, we can see that is doing quiet a number of things. There are sections for handling the "chippies". Then there is another section for subdiving the mesh and adding surface detail. In between all this there are switches that toggle certain parameters. Below are also VOPs nodes, which is houdini's procedural surfacing system, similar to substance designer.
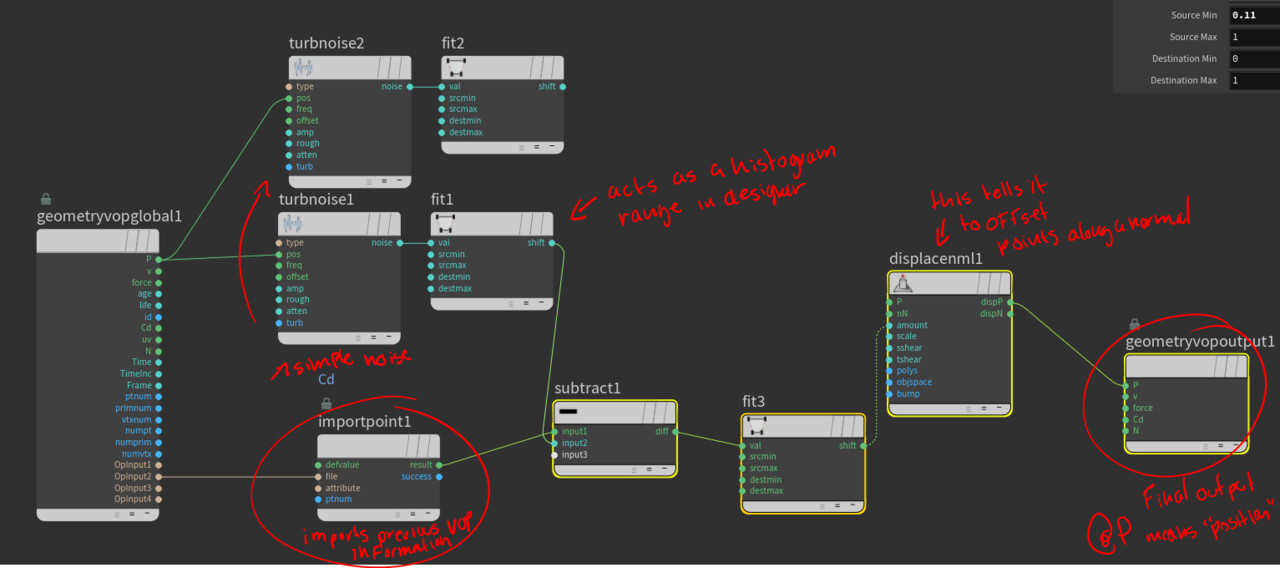
This is what things look like inside a VOP attribute node. This is a very simple network of noises.
So how do i know how todo all this? I usually write it down on a piece of paper. And then i go one item at a time. Until things start to look like what i would do by hand. Houdini is super technical. There is no denying that, but with a little bit of patience and a lot of imagination the sky is the limit!
Below is a screenshot of simple stone floor mesh i imported from Maya. I then instantly get the bevels and chisels. Which could be used as is with a tillable texture if you are doing a very stylized game. Or in my case you could take it a few steps further and add more details.
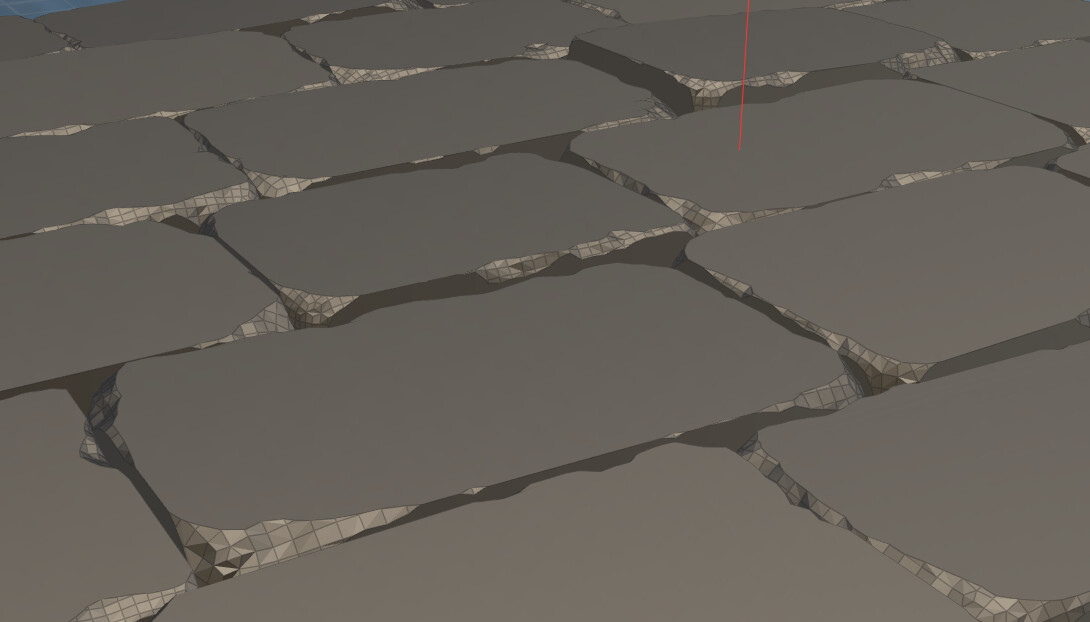
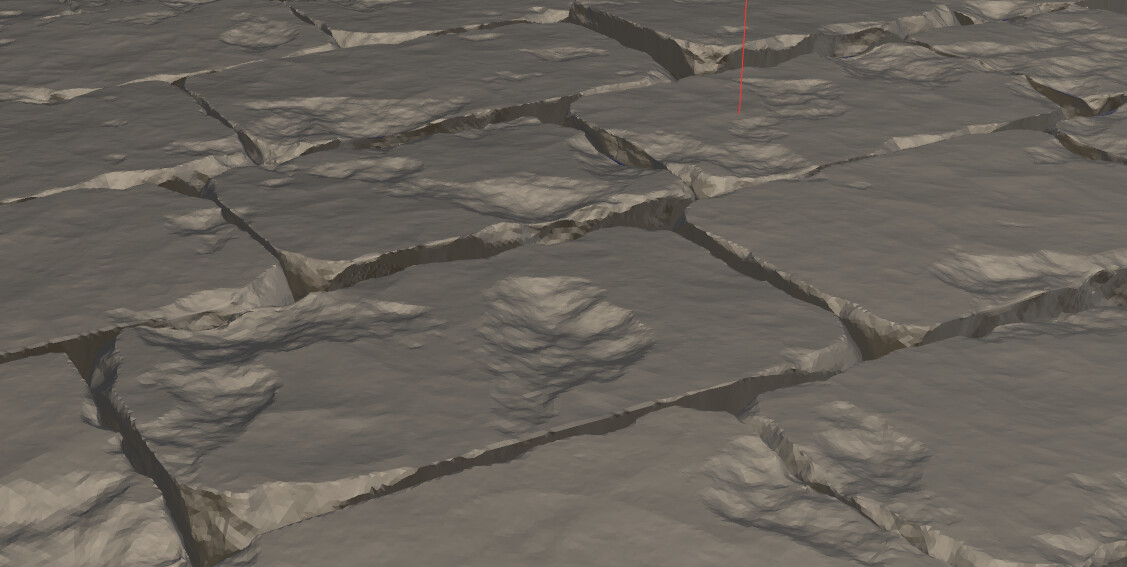
Below, i activated the second part of my graph to allow the meshes to become subdived and retopologized so that it can support the displacement data coming through. Just like zbrush, where you need to subdivide your mesh if you want more detail. As you can see a lot of this looks pretty heavy handed and random at times, this what i dont like about proceduralism. However remember, this is just a first pass and you can take things further by hand if you need to. There is no need to try to do it all procedural. Mix things up a bi!
Houdini also comes with something called the houdiniEngine, which plugs in directly to maya or unreal4. Which means that within maya i could apply all the chippies and surface detail. Then send it to zbrush! It is a brand new and exciting world of possibilities!
